Using a public EV charging station for the first time can feel unfamiliar. Drivers may be unsure about connector compatibility, payment, charging applications and the correct way to end a session.
The process becomes easier when you prepare before arriving and follow the instructions displayed at the station. Although individual chargers work differently, the following steps explain the general public-charging process for electric cars and electric two-wheelers.
Step 1: Review Your Vehicle’s Charging Requirements
Before searching for a station, understand how your vehicle accepts power.
Check the vehicle manual or manufacturer’s official information for:
- Supported charging type
- Required connector
- Maximum charging rate
- Cable requirements
- Whether an adapter is approved
- Battery charging recommendations
- Instructions for locking and unlocking the port
Electric bike and scooter users should confirm whether the vehicle needs its manufacturer-supplied charger or supports a public charging connector.
Save this information on your phone so that it remains accessible during the journey.
Step 2: Find a Suitable Charging Station
Use a charging application, navigation platform or operator listing to search for available stations.
Do not choose only according to distance. Review:
- Vehicle compatibility
- Connector availability
- Current operating status
- Access hours
- Payment requirements
- User instructions
- Parking conditions
- Recent station information
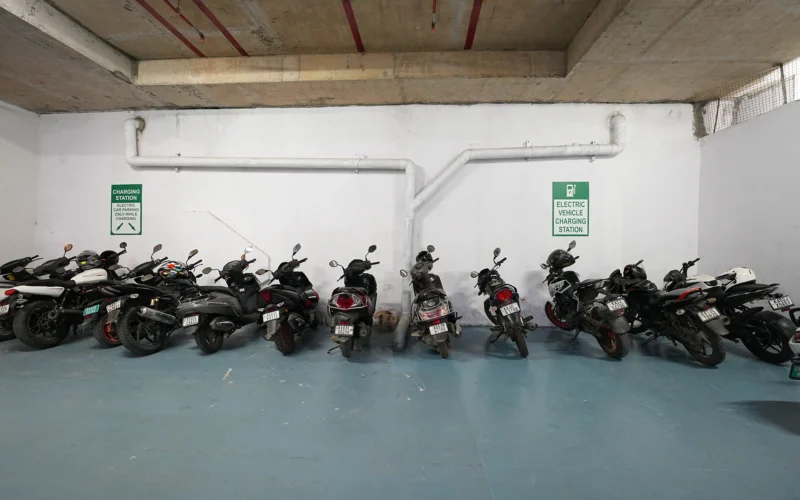
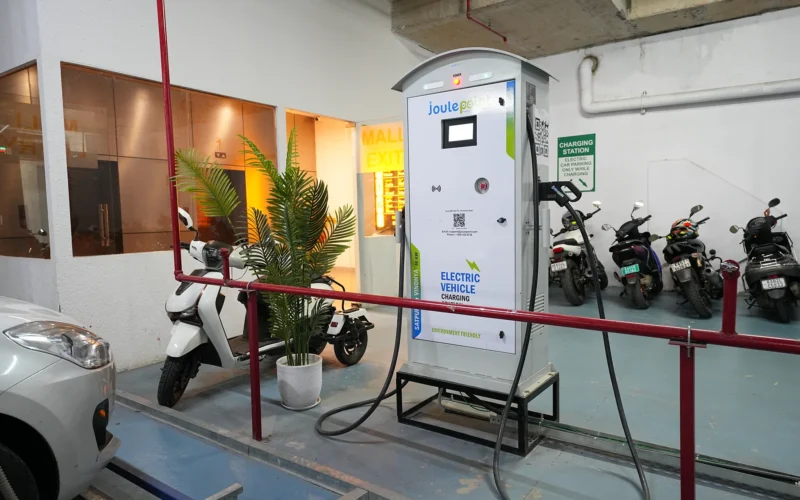
Drivers and riders travelling through Central Bangalore can consider the EV charging station near Majestic, which supports electric cars and electric bikes or two-wheelers.
Confirm current station details before depending on it for an essential charging stop.
Step 3: Prepare the Required Application or Payment Method
Some public chargers require users to start the session through an application. Others may support cards, digital payments or another operator-defined process.
Before leaving:
- Download the required application if applicable.
- Create and verify the account.
- Add the necessary payment method.
- Confirm that you can sign in.
- Ensure that your phone has an active data connection.
- Keep an alternative payment method available.
Completing account setup at home can save time and reduce difficulties at the station.
Step 4: Park in the Correct Charging Bay
When you arrive, identify the bay assigned to your vehicle type.
Position the vehicle so that the charging port can be reached without stretching or twisting the cable. Remain within the marked space and avoid blocking another charger.
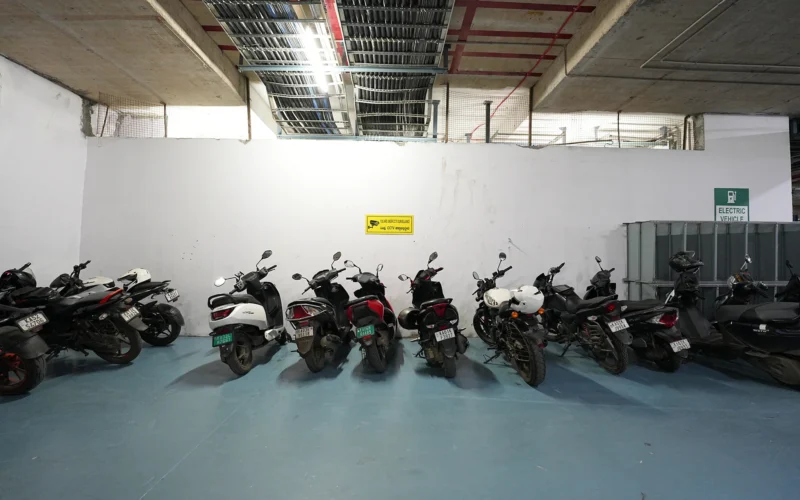
Electric two-wheeler users should park in the designated area and keep the vehicle stable. Do not route charging cables across pedestrian paths or active vehicle lanes.
Apply the parking brake and switch off the vehicle before connecting.
Step 5: Inspect the Equipment
Take a moment to check the charger and cable before use.
Do not proceed if you notice:
- Exposed wires
- Burn marks
- Cracked connectors
- Water inside the connector
- Loose components
- Damaged screens
- Unusual odours
- An equipment warning
Report visible damage through the station’s support channel. Never attempt to repair public charging equipment yourself.
Step 6: Confirm the Connector
Match the charging connector with the vehicle’s port. It should fit correctly without excessive force.
If it does not fit:
- Stop immediately.
- Recheck the connector type.
- Review the station instructions.
- Confirm the vehicle’s requirements.
- Contact support if necessary.
Do not use an unauthorised adapter or attempt to modify the connection.
Electric bike users should use only the charging arrangement approved for their vehicle model.
Step 7: Start the Charging Session
The order may vary, but a session generally begins by connecting the vehicle and following the operator’s instructions.
You may need to:
- Scan a QR code
- Select a charger in an application
- Enter the charger identification number
- Tap a card
- Choose a connector
- Confirm payment
- Press a start button
Wait for the station and vehicle to confirm that charging has begun.
Check the dashboard, charger display or application for an active charging indicator. Do not leave until you have confirmed that the battery is receiving power.
Step 8: Monitor the Session
Public charging should not be treated as a completely unattended process.
Where available, monitor:
- Battery percentage
- Energy delivered
- Charging rate
- Estimated completion
- Payment status
- Session interruptions
- Error messages
If charging stops unexpectedly, return to the vehicle. Check the application and station display before attempting to restart the session.
The estimated completion time can change because of battery temperature, state of charge and the vehicle’s power limits.
Step 9: End Charging Correctly
Do not pull the connector out while the session is active.
Use the application, charger interface, card or vehicle control to stop charging. Wait until the equipment confirms that the session has ended and the connector has been unlocked.
Then:
- Remove the connector carefully.
- Close the vehicle’s charging port.
- Return the cable to its holder.
- Review the payment summary.
- Save the receipt.
- Check the final battery level.
Electric two-wheeler users should secure any portable charger or cable before leaving.
Step 10: Move the Vehicle
A charging bay is not a regular parking space.
Once the session is complete, move the vehicle promptly. If you want to continue shopping, dining or another activity, use an appropriate parking space.
Leaving a fully charged vehicle in the bay may inconvenience another EV user and could result in additional fees where idle charging rules apply.
Common First-Time Mistakes
Avoid these frequent errors:
- Reaching the station without checking compatibility
- Installing the required application only after arrival
- Assuming every EV uses the same connector
- Walking away before confirming charging has started
- Ignoring session notifications
- Using an unapproved adapter
- Pulling the connector before stopping the session
- Leaving the vehicle after charging is complete
A few minutes of preparation can prevent most of these problems.
Make the First Public-Charging Visit Easier
Public EV charging becomes straightforward once you understand your vehicle and the operator’s process.
Check compatibility, prepare the application or payment method, inspect the equipment and confirm that charging has started. Continue monitoring the session and clear the bay after disconnecting.
If any instruction is unclear, use the station’s support channel rather than guessing or forcing the equipment.
Frequently Asked Questions
Do I need an application to use a public EV charger?
Some operators require an application, while others may support cards or digital payment. Check the station details before travelling.
Can every charger work with every EV?
No. The connector and charging system must be compatible with the vehicle.
How do I know charging has started?
The charger display, application or vehicle dashboard should show an active session and increasing battery level.
Can I leave the vehicle while it charges?
You may be able to use nearby facilities, but continue monitoring the session and remain ready to return.
What should I do if the charger is damaged?
Do not use it. Report the problem through the station’s available support channel.